Category Archives: problems

Just because it’s production, doesn’t mean it’s not a test

Posted on by 0 comment

Back in July I wrote about the week long sailing trip that ended after 1 day with engine failure and dramatic action.  Since then our old sailboat has been stuck in Anacortes, WA while the local marine service company diagnosed and repaired the engine.  My wife also delivered our first child during that time so we were a little busy anyway.  They declared the engine good to go last week and I scheduled sea trials and pickup for Tuesday (8/24).  We packed a cooler full of food, some clothes, sleeping bags and drove up to Anacortes to meet the boat.  After a slightly expensive lunch at the marina restaurant, with masterful drinks poured by the same bartender we were served by the last time, we met the Travelift about to splash the boat.
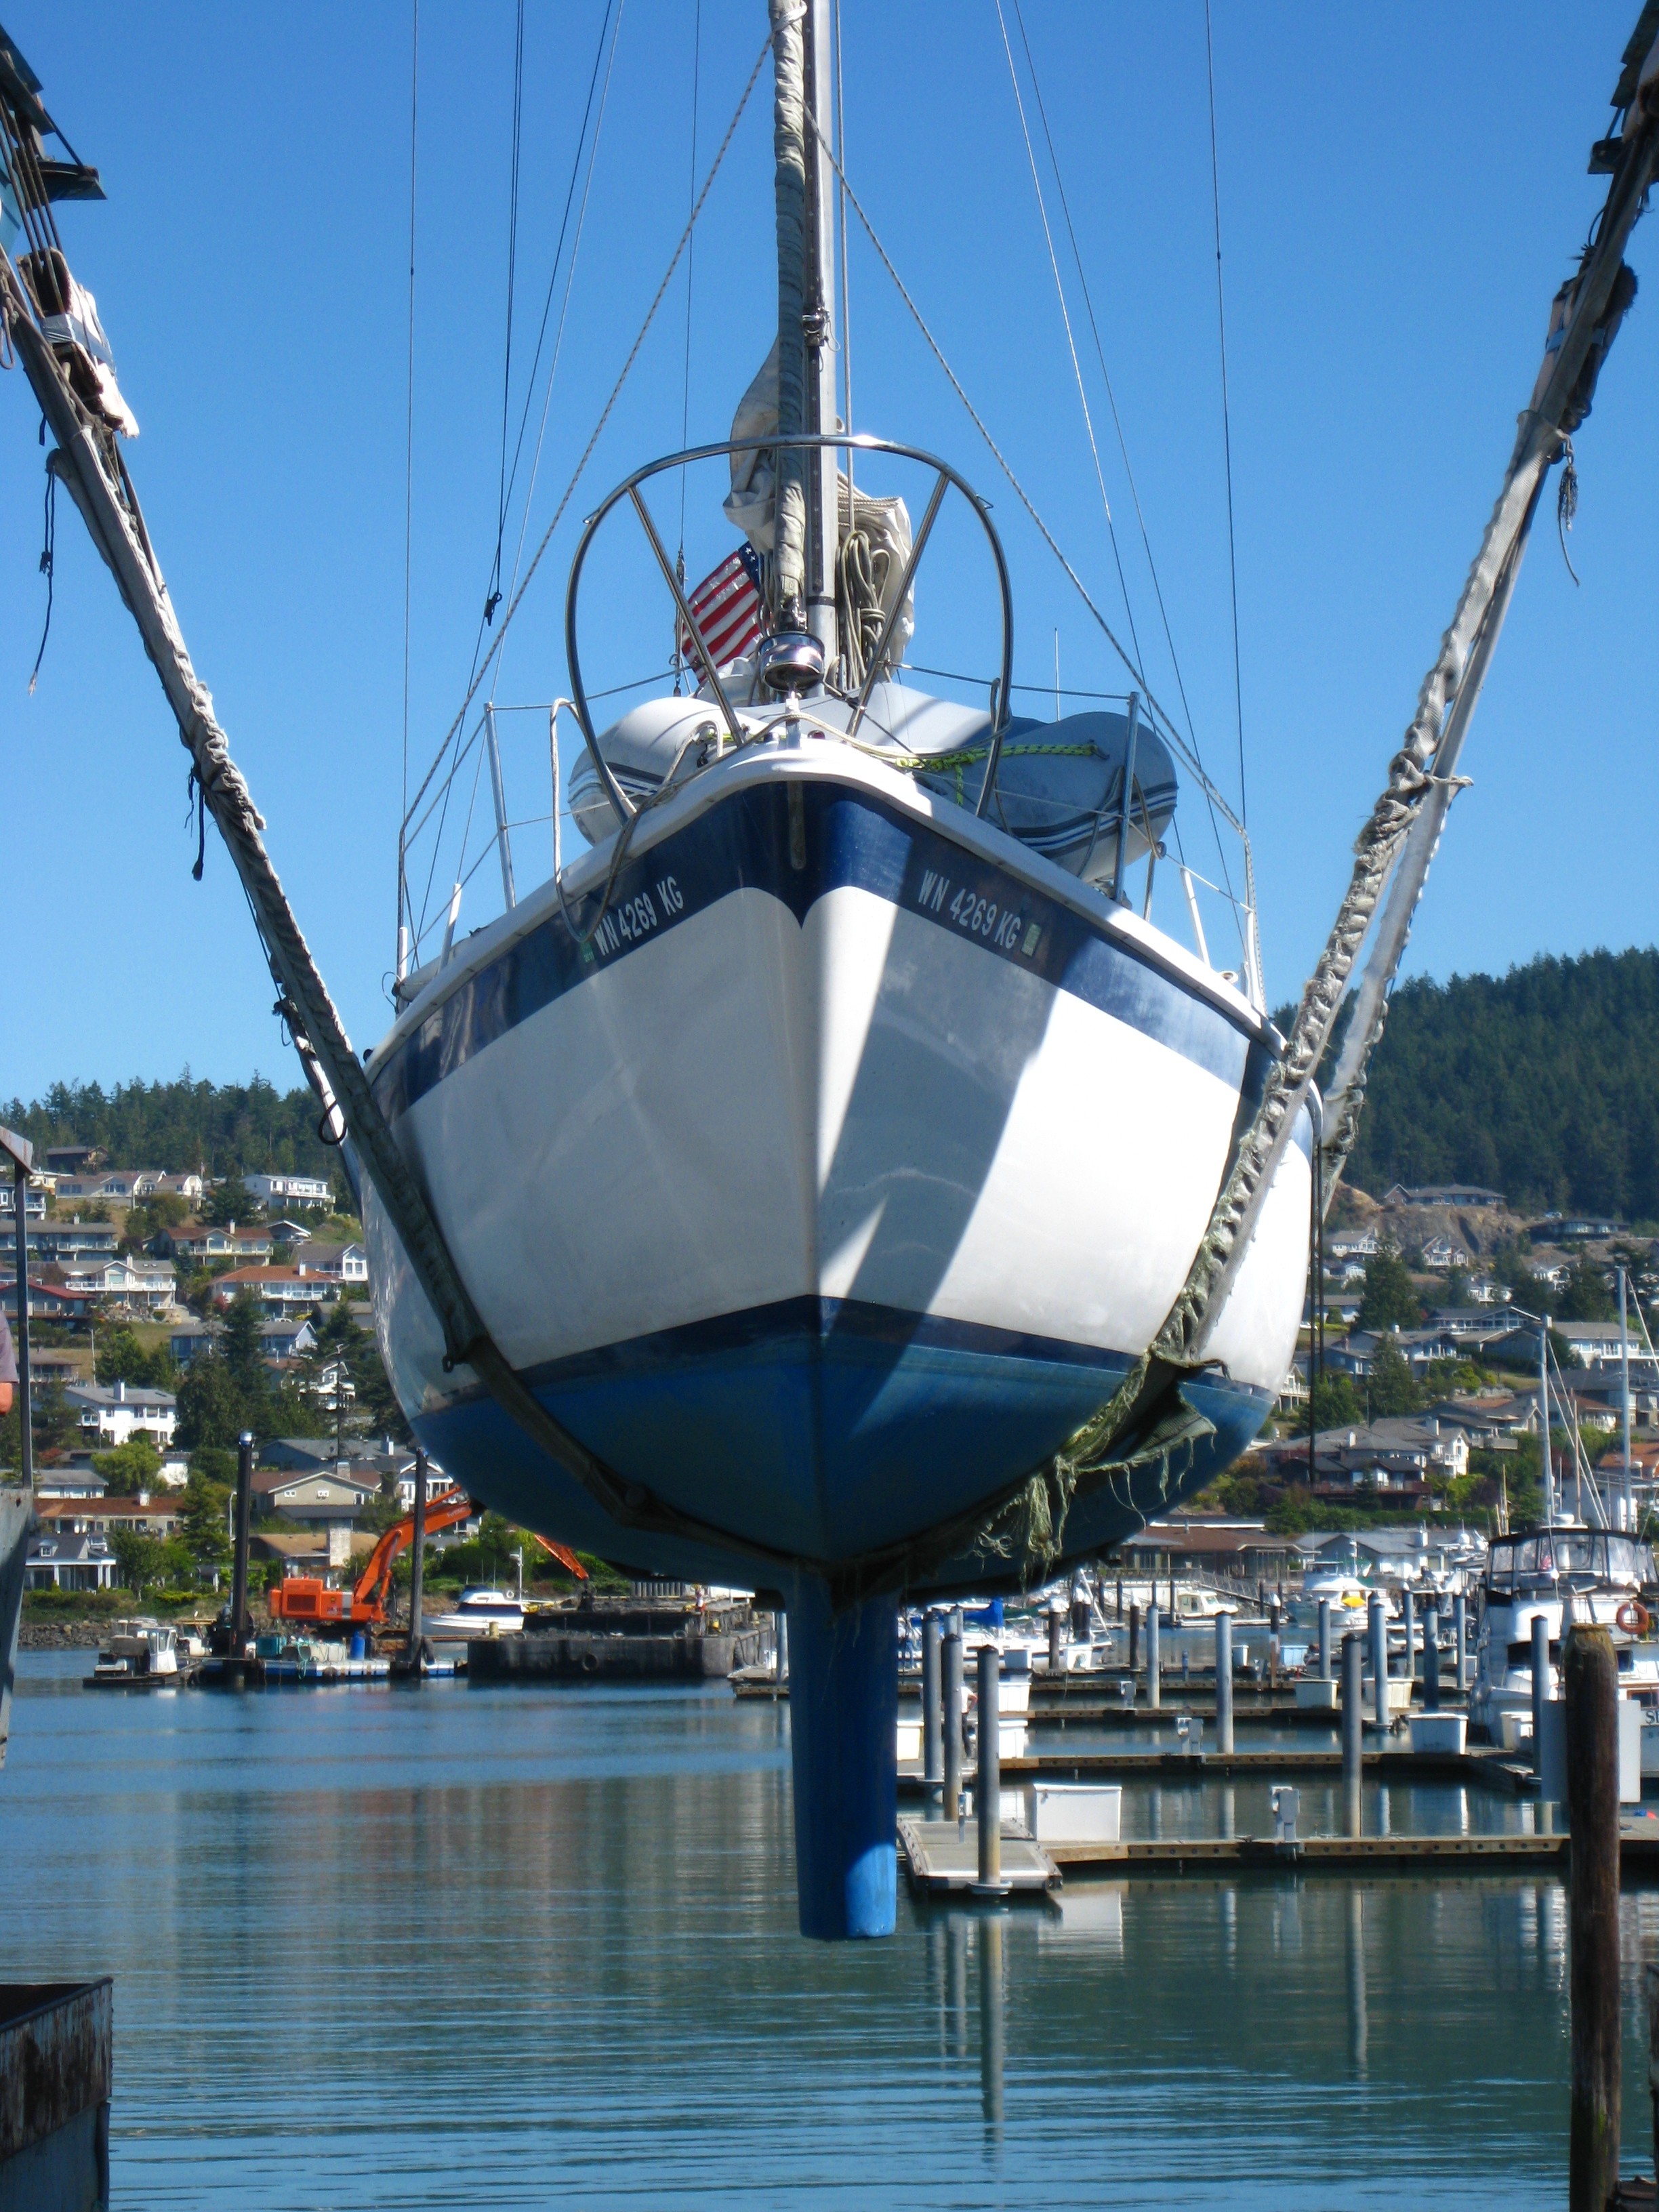
The engine fired up just fine and sounds much better than it used to.  It runs and idles smoother, doesn’t smoke, runs cooler, etc.  So we headed out for sea trials in the bay and cruised around for about 45 minutes at different RPMs, heating and cooling the engine to stress it a little looking for any problems.  The boat runs great!  Under engine power we move about 1 knot faster than before too.  I think the engine has been running poorly for quite a while before it failed.  Anyway, satisfied that the boat engine was performing well, we headed back in to the dock.  I paid the bill, we loaded out provisions and headed out with just enough time to make it to Deception Pass for slack tide.

In the immortal words of Captain Ron — “Well, the best way to find out is to get her out on the ocean Kitty, if anything’s gonna happen, its gonna happen out there.”

20 minutes out, a new sound develops from the engine compartment.  It sounds like metal rattling–a very distinct, sharp sound.  Down in the engine compartment it’s a very loud sound, an exhaust leak from somewhere.  A couple phone calls and we turn back to Anacortes.  We clearly aren’t making it to Deception Pass tonight.  The engine is not quote right yet.  Mechanic shows up and determines that the head gasket is leaking, might have been a defective gasket.  But it’s solid copper and a new one is several days away.  Another mechanic joins us at 8:30am the next morning and finds out that the head bolts loosened during the sea trial and subsequent motoring.  He tightens then up and its running fine again.  So out for another trial, then back to cool the engine and check the bolts again–still good!

So we finally leave Puget Sound’s own Bermuda Triangle for home.  We pass through Deception right on time and continue south towards Coupeville on Whidbey Island.  In another moment of calamity on our eternal 3-hour tour, we are moving along at over 6 knots when the boat suddenly stops dead in the water and pitches forward.  Jason who was in the galley, flies forward into the head and falls down while dishes go flying.  A quick check of the depth sounder (showing 2.8ft) confirms my fears..  we hit a sand bar.  It turns out the navigator (me) was too preoccupied on his cell phone dealing with plans for the night and talking to the car dealer about the Mazda’s coolant leak, to notice that we were about 100 yards outside the marked channel.  Reversing the engine does nothing to help and the current is pushing us against the sand bar pretty hard.

If you read the previous post, you’ll remember that the dinghy saved the day when the engine failed..  Well, another notch on the dinghy’s stern is due after I threw it off the bow, mounted the Yamaha motor, and used it as a mini tugboat to spin the sailboat around into the current to push off the sand bar.  I’m contemplating renaming the sailboat and dinghy to “The Problem” and “The Solution” respectively.
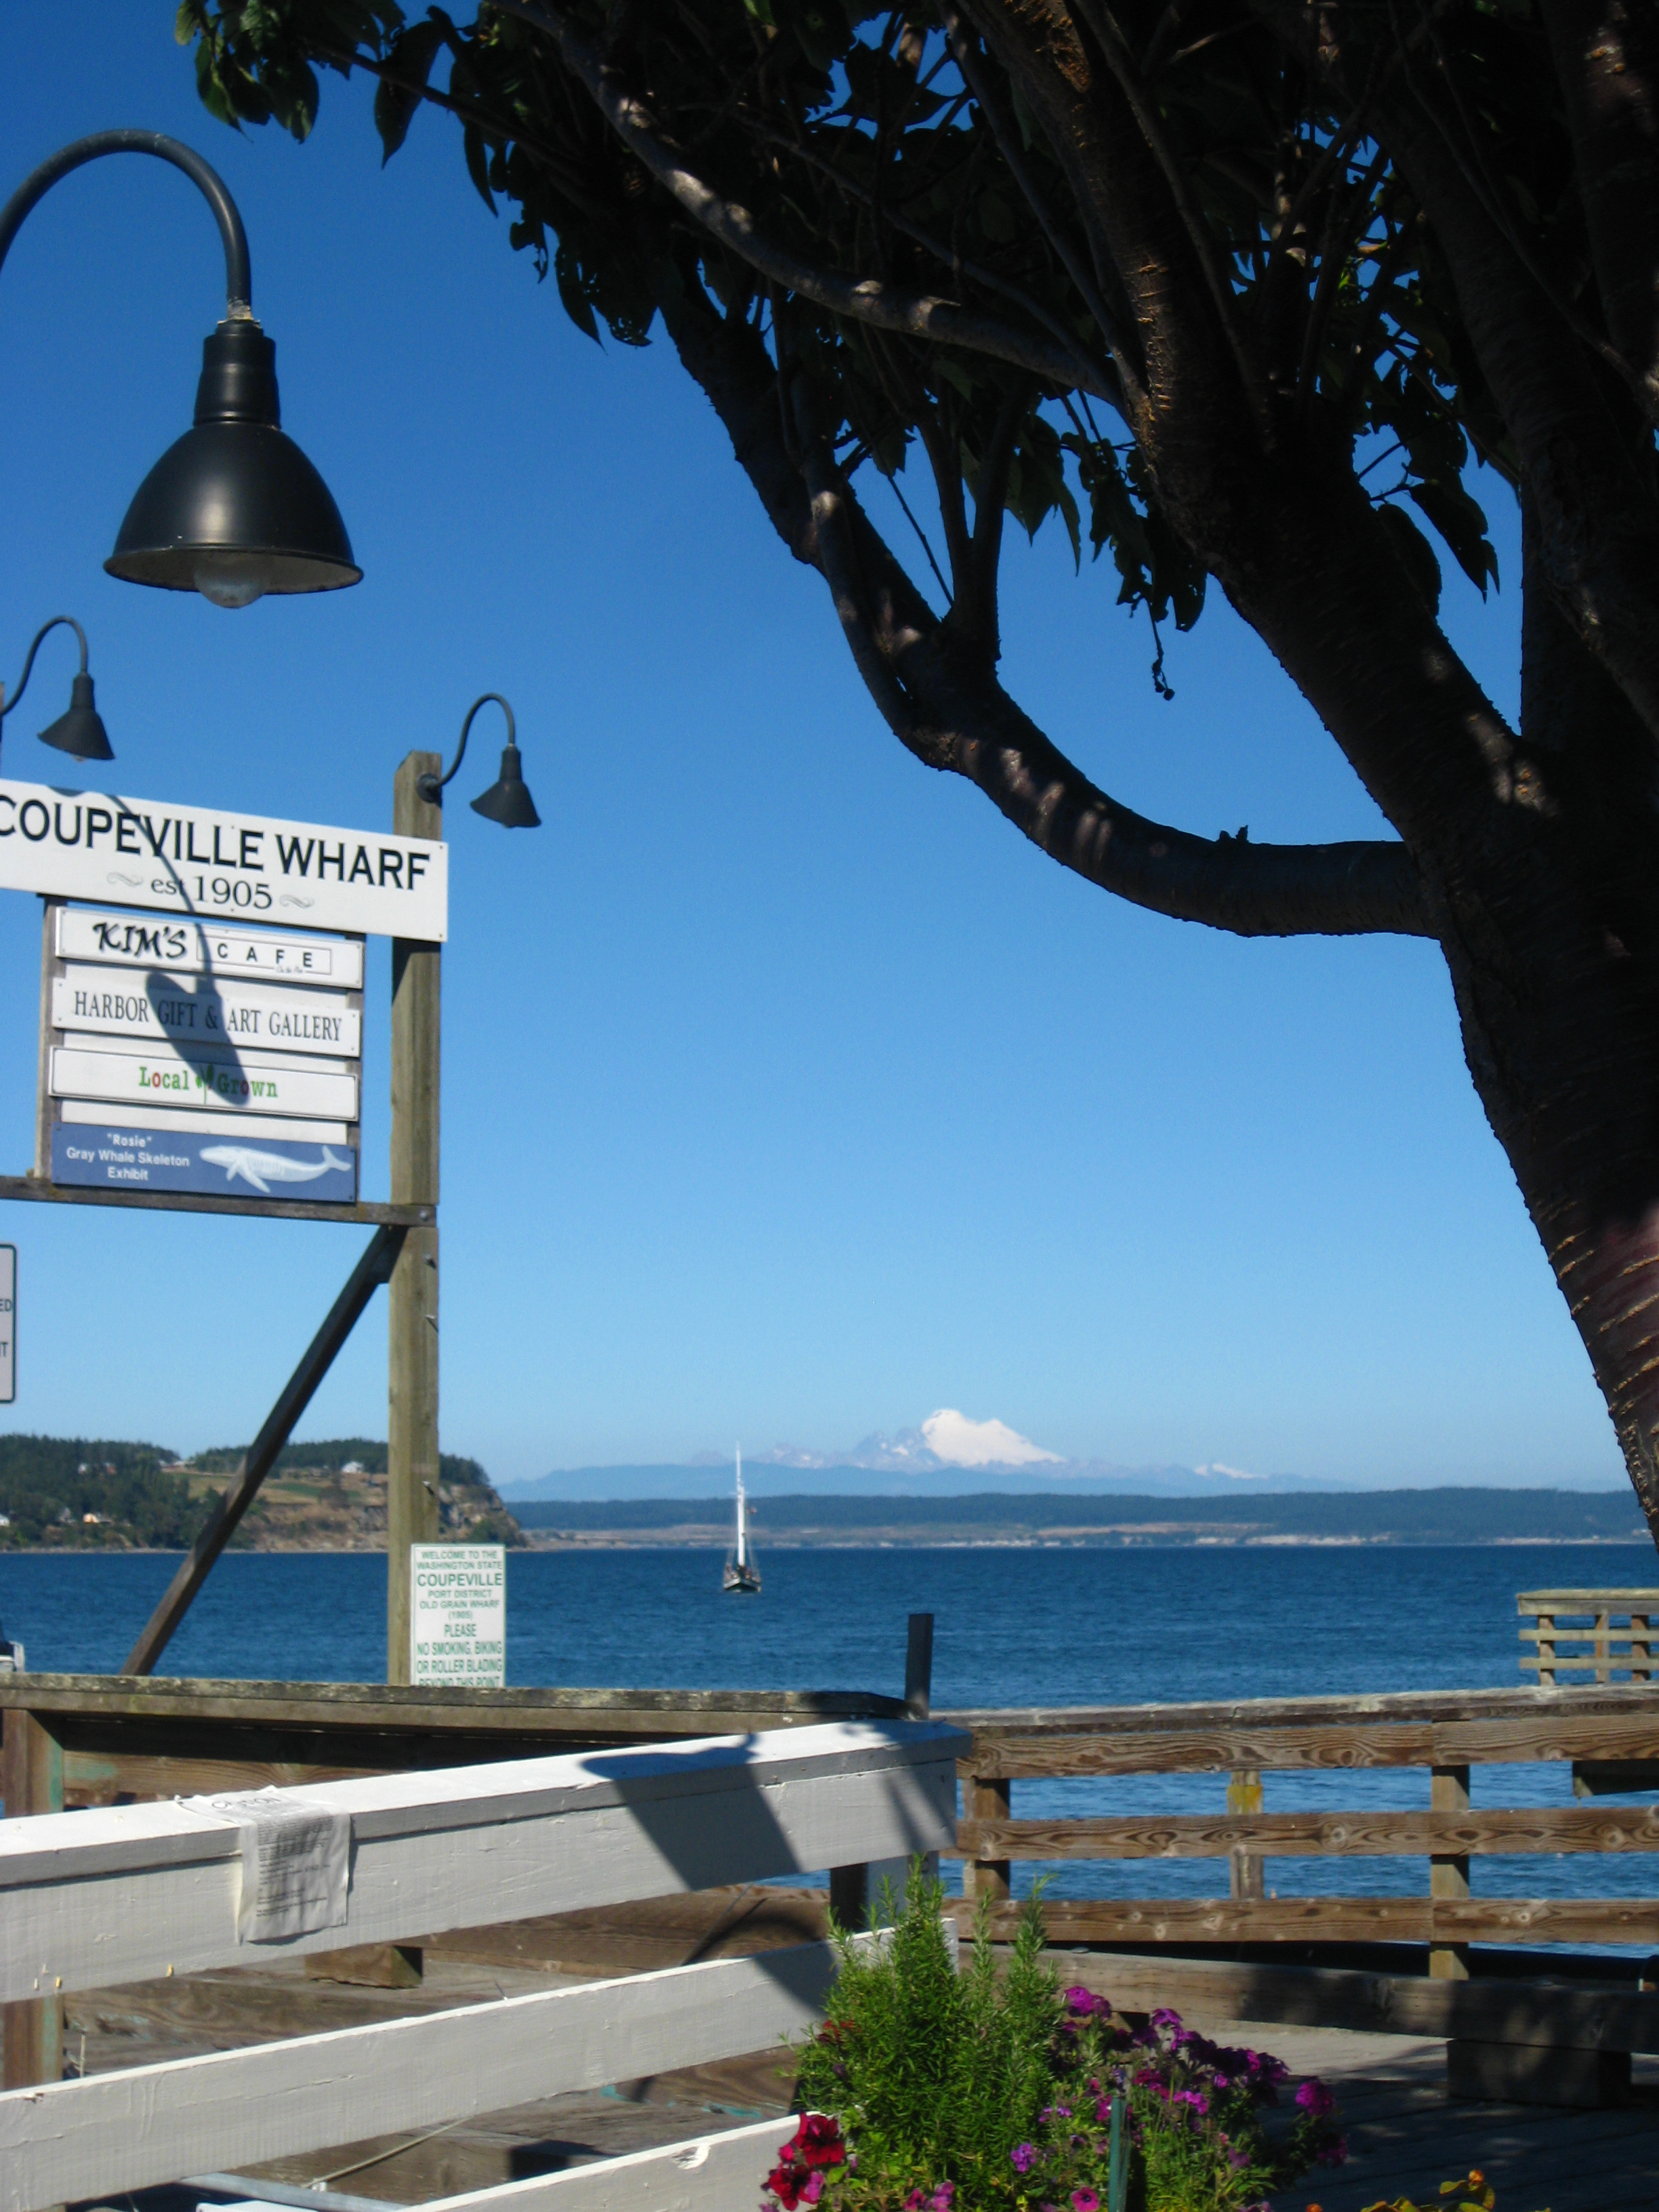
We made it safely to Coupeville and had a wonderful afternoon and evening.  My wife and baby drove over to meet us for dinner and the next morning we shoved off early for Everett.  We got a little wet on this last run due to rain but made it home safe, locked the boat down, hopped in the car and went home.  It’s a series of mini-adventures I will never forget.

On the plus side, our little old sailboat is now better equipped, I have a new found respect for the dinghy, and I got to go boating once more before summer ends, even if it did cost us a lot more money than we had planned.

Every Cruise is a Shakedown Cruise (in IT terms, every Production environment is also a QA environment)

Posted on by

It’s the morning of day 2 on a 7 day sailing trip in the San Juan Islands of Puget Sound.  We are 43 nautical miles from our homeport, and I’m sitting at the table watching a diesel mechanic take apart the little engine on our boat.

Over the 4th of July weekend, we spent nearly 3 full days getting the boat ready for this trip.  Washed inside and out, installed new convenience items, changed the oil, checked the transmission fluid, batteries, electrical systems, etc.  We taken several short and long trips with our Cal 2-29 over the past 5 years and there hasn’t been a single trip over 24 hours that didn’t require a repair of some kind.  Once, the bilge pump sucked water INTO the boat and we had to re-plumb the bilge pump system with makeshift hoses available at the nearby port.  Another time, while docking in Friday Harbor, my wife leaned too hard on a stanchion, causing it to break off and sending her into the cold Puget Sound water.  Twice, an over-zealous helmsperson switched from reverse to forward gear while the engine was at speed and tore the flex coupling on the prop shaft in half.  Both times we were close to docking so we just drifted into port and made repairs.  After that we thought we had finally seen the last of the major issues for a while.

On Tuesday morning, we left too early to fuel up so I brought a 5-gallon can of Diesel on board.  35 nautical miles later that proved to be a good idea, when we almost ran out of fuel, while navigating the tight and dangerous Deception Pass.  We refueled without stopping using a makeshift funnel made out of a plastic water bottle.  Afterwards, the engine was clearly turning more than 2000 rpm based on sound and boat speed but the tachometer was showing 600-800 and bouncing wildly.  Something to look at later since the engine seemed okay.

An hour later, on the west side of Fidalgo Island, entering the Strait of Juan de Fuca, we were planning our final destination for the day when the engine began to lose power for an unknown reason. Finally, we saw what seemed to be unusual black smoke from the exhaust.  At that point we shut down the engine to check on things.  We were a few hundred yards from a rock wall, which was cause for some concern, but we had a little time to assess the situation.

At first glance, the alternator belt was very loose but it didn’t make sense because the bolt that allows for adjustment had clearly not moved.  It turned out that the bolt on the other end of the mounting arm, the one that secures the arm to the engine block, had sheared off and the arm was free of the engine.  Since the engine is an old diesel, which does not require any power or electronic systems to run, we decided we’d try and remove the belt and go without the alternator until we can repair it.  We also found a few random bolts and screws in the engine compartment.

While working to secure the belt out of the way with zip-ties we noticed the starter solenoid had pretty much fallen off of the starter, the spring was visible even.  The bolts had come loose and one was missing, plus reattaching would require a lot of work due to the location of the bolts.  Well, being a single cylinder small diesel, the Farymann A30M can be started with a hand crank when warm, so we secured the solenoid out of the way and figured we’d fire it up with the crank and get to a nearby marina.

Hand cranking failed to produce a running engine, and we really don’t know why, we may have needed the glow plug on which we forgot about until a long time after giving up.  It was looking like we were going to have to call Vessel Assist, when I remembered a story I heard about someone pushing their sailboat with their dinghy lashed to the side of the boat near the stern.  So we secured the dinghy, fired up the Yamaha 2.5hp motor, and amazingly we were moving along at 4knots just in time to move away from the rock wall that was now only about 100 yards away.  An hour later we dinghy-motored our little 35 year old Cal into Flounder Bay on the northwest corner of Fidalgo Island.  Some steaks, corn on the cob, and a healthy dose of Captain Morgan over the next few hours helped the mood and the day was done!

At this point we’ve found that not only was the alternator and starter solenoid loose from the engine, one of the two engine mounts was about 30 minutes of running from falling off also.  It’s likely the loose engine mount added vibration, which caused the other bolts to loosen, causing more bolts to fail completely–a multi-stage failure of sorts.  Today, our goal is to work with the marine service tech to get the engine put back together and tightened up, then see if the engine will run, and assess anything we find there.  At $92.50 per hour, this could be a costly day.

This experience, and the previous ones we’ve had as well, reminded me that you need to be prepared for anything, especially when your life depends on it.  When your customers (internal or external) depend on your IT systems, you should be prepared for anything to go wrong, and you might have to patch things together to get it going until you can fix it the right way.  And that’s okay.  Remember, duct tape and zip-ties can pretty much fix anything!  😉

And it’s only been 24 hours since the trip started.

Follow up here

You don’t need a Backup solution!

Posted on by

Well, not exactly.  What you really need is a restore solution!

I was discussing this with a colleague recently as we compared difficulties multiple customers are having with backups in general.  My colleague was relating a discussion he had with his customer where he told them, “stop thinking about how to design a backup solution, and start thinking about how to design a restore solution!”

Most of our customers are in the same boat, they work really hard to make sure that their data is backed up within some window of time, and offsite as soon as possible in order to ensure protection in the event of a catastrophic failure.  What I’ve noticed in my previous positions in IT and more so now as a technical consultant with EMC is that (in my experience) most people don’t really think about how that data is going to get restored when it is needed.  There are a few reasons for this:

  • Backing up data is the prerequisite for a restore; IT professionals need to get backups done, regardless of whether they need to restore the data.  It’s difficult to plan for theoretical needs and restore is still viewed, incorrectly, as theoretical.
  • Backup throughput and duration is easily measured on a daily basis, restores occur much more rarely and are not normally reported on.
  • Traditional backup has been done largely the same way for a long time and most customers follow the same model of nightly backups (weekly full, daily incremental) to disk and/or tape, shipping tape offsite to Iron Mountain or similar.

I think storage vendors, EMC and NetApp particularly, are very good at pointing out the distinction between a backup solution and a restore solution, where backup vendors are not quite as good at this.  So what is the difference?

When designing a backup solution the following factors are commonly considered:

  • Size of Protected Data – How much data do I have to protect with backup (usually GB or TB)
  • Backup Window – How much time do I have each night to complete the backups (in hours)
  • Backup Throughput – How fast can I move the data from it’s normally location to the backup target
  • Applications – What special applications do I have to integrate with (Exchange, Oracle, VMWare)
  • Retention Policy – How long do I have to hang on to the backups for policy or legal purposes
  • Offsite storage – How do I get the data stored at some other location in case of fire or other disaster

If you look at it from a restore prospective, you might think about the following:

  • How long can I afford to be down after a failure?  Recovery Time Objective (RTO): This will determine the required restore speed.  If all backups are stored offsite, the time to recall a tape or copy data across the WAN affects this as well.
  • How much data can I afford to lose if I have to restore? Recovery Point Objective (RPO):  This will determine how often the backup must occur, and in many cases this is less than 24 hours.
  • Where do I need to restore the application? This will help in determining where to send the data offsite.

Answer these questions first and you may find that a traditional backup solution is not going to fulfill your requirements.  You may need to look at other technologies, like Snapshots, Clones, replication, CDP, etc.  If a backup takes 8 hours, the restore of that data will most likely take at least 8 hours, if not closer to 16 hours.  If you are talking about a highly transactional database, hosting customer facing web sites, and processing millions of dollars per hour, 8 hours of downtime for a restore is going to cost you tens or hundreds of millions of dollars in lost revenue.

Two of my customers have database instances hosted on EMC storage, for example, which are in the 20TB size range.  They’ve each architected a backup solution that can get that 20TB database backed up within their backup window.  The problem is, once that backup completes, they still have to offsite the backup, and replicate it to their DR site across a relatively small WAN link.  They both use compressed database dumps for backup because, from the DBA’s perspective, dumps are the easiest type of backup to restore from, and the compression helps get 20TB of data pushed across 1gbe Ethernet connections to the backup server.  One of the customers is actually backing up all of their data to DataDomain deduplication appliances already; the other is planning to deploy DataDomain.  The problem in both cases is that, if you pre-compress the backup data, you break deduplication, and you get no benefit from the DataDomain appliance vs. traditional disk.  Turning off compression in the dump can’t be done because the backup would take longer than the backup window allows.  The answer here is to step back, think about the problem you are trying to solve–restoring data as quickly as possible in the event of failure–and design for that problem.

How might these customers leverage what they already have, while designing a restore solution to meet their needs?

Since they are already using EMC storage, the first step would be to start taking snapshots and/or clones of the database.  These snapshots can be used for multiple purposes…

  • In the event of database corruption, or other host/filesystem/application level problem, the production volume can be reverted to a snapshot in a matter of minutes regardless of the size of the database (better RTO).  Snapshots can be taken many times a day to reduce the amount of data loss incurred in the event of a restore (better RPO).
  • A snapshot copy of the database can be mounted to a backup server directly and backed up directly to tape or backup disk.  This eliminates the requirement to perform database dumps at all as well as any network bottleneck between the database server and backup server.  Since there is no dump process, and no requirement to pre-compress the data, de-duplication (via DataDomain) can be employed most efficiently.  Using a small 10gbps private network between the backup media servers and DataDomain appliances, in conjunction with DD-BOOST, throughput can be 2.5X faster than with CIFS, NFS, or VTL to the same DataDomain appliance.  And with de-duplication being leveraged, retention can be very long since each day’s backup only adds a small amount of new data to the DataDomain.
  • Now that we’ve improved local restore RTO/RPO, eliminated the backup window entirely for the database server, and decreased the amount of disk required for backup retention, we can replicate the backup to another DataDomain appliance at the DR site.  Since we are taking full advantage of de-duplication now, the replication bandwidth required is greatly reduced and we can offsite the backup data in a much shorter period of time.
  • Next, we give the DBAs back the ability to restore databases easily, and at will, by leveraging EMC Replication Manager.  RM manages the snapshot schedules, mounting of snaps to the backup server, and initiation of backup jobs from the snapshot, all in a single GUI that storage admins and DBAs can access simultaneously.

So we leveraged the backup application they already own, the DataDomain appliances they already own, storage arrays they already own, built a small high-bandwidth backup network, and layered some additional functionality, to drastically improve their ability to restore critical data.  The very next time they have a data integrity problem that requires a restore, these customer’s will save literally millions of dollars due to their ability to restore in minutes vs. hours.

If RPO’s of a few hours are not acceptable, then a Continuous Data Protection (CDP) solution could be added to this environment.  EMC RecoverPoint CDP can journal all database activity to be used to restore to any point in time, bringing data loss (RPO) to zero or near-zero, something no amount of snapshots can provide, and keeping restore time (RTO) within minutes (like snapshots).  Further, the journaled copy of the database can be stored on a different storage array providing complete protection for the entire hardware/software stack.  RecoverPoint CDP can be combined with Continuous Remote Replication (CRR) to replicate the journaled data to the DR site and provide near-zero RPO and extremely low RTO in a DR/BC scenario.  Backups could be transitioned to the DR site leveraging the RecoverPoint CRR copies to reduce or eliminate the need to replicate backup data.  EMC Replication Manager manages RecoverPoint jobs in the same easy to use GUI as snapshot and clone jobs.

There are a whole host of options available from EMC (and other storage vendors) to protect AND restore data in ways that traditional backup applications cannot match.  This does not mean that backup software is not also needed, as it usually ends up being a combined solution.

The key to architecting a restore solution is to start thinking about what would happen if you had to restore data, how that impacts the business and the bottom line, and then architect a solution that addresses the business’ need to run uninterrupted, rather than a solution that is focused on getting backups done in some arbitrary daily/nightly window.

EMC Unified: The benefit of having options

Posted on by

I’ve been having some fun discussions with one of my customers recently about how to tackle various application problems within the storage environment and it got me thinking about the value of having “options”.  This customer has an EMC Celerra Unified Storage Array that has Fiber Channel, iSCSI, NFS, and CIFS protocols enabled.  This single storage system supports VMWare, SQL, Web, Business Intelligence, and many custom applications.

The discussion was specifically centered on ensuring adequate storage performance for several different applications, each with a different type of workload…

1.)  Web Servers – Primarily VMs with general-purpose IO loads and low write ratios.

2.)  SQL Servers – Physical and Virtual machines with 30-40% write ratios and low latency requirements.

3.)  Custom Application  – A custom application database with 100% random read profiles running across 50 servers.

The EMC Unified solution:

EMC Storage already sports virtual provisioning in order to provision LUNs from large pools of disk to improve overall performance and reduce complexity.  In addition, QoS features in the array can be used to provide guaranteed levels of performance for specific datasets by specifying minimum and maximum bandwidth, response time, and IO requirements on a per-LUN basis.  This can help alleviate disk contention when many LUNs share the same disks, as in a virtual pool.  Enterprise Flash Drives (EFD) are also available for EMC Storage arrays to provide extremely high performance to applications that require it and they can coexist with FC and SATA drives in the same array.  Read and write cache can also be tuned at an array and LUN level to help with specific workloads.  With the updates to the EMC Unified Platform that I discussed previously, Sub-LUN FAST (auto tiering), and FAST Cache (EFD used as array cache) will be available to existing customers after a simple, non-disruptive, microcode upgrade, providing two new ways to tackle these issues.

So which feature should my customer use to address their 3 different applications?

Sub-LUN FAST (Fully Automated Storage Tiering)

Put all of the data into large Virtual Provisioning pools on the array, add a few EFD (SSD) and SATA disks to the mix and enable FAST to automatically move the blocks to the appropriate tier of storage.  Over time the workload would even out across the various tiers and performance would increase for all of the workloads with much fewer drives, saving on power, floor space, cooling, and potentially disk cost depending on the configuration.  This happens non-disruptively in the background.  Seems like a no-brainer right?

For this customer, FAST helps the web server VMs and the general-purpose SQL databases where the workload is predominately read and much of the same data is being accessed repeatedly (high locality of reference).   As long as the blocks being accessed most often are generally the same, day-to-day, automated tiering (FAST) is a great solution.  But what if the workload is much more random?  FAST would want to push all of the data into EFD, which generally wouldn’t be possible due to capacity requirements.  Okay, so tiering won’t solve all of their problems.  What about FAST Cache?

FAST Cache

Exponentially increase the size of the storage array’s read AND write cache with EFD (SSD) disks.  This would improve performance across the entire array for all “cache friendly” applications.

For this customer, increasing the size of write cache definitely helps performance for SQL (50% increase in TPM, 50% better response time as an example) but what about their custom database that is 100% random read?  Increasing the size of read cache will help get more data into cache and reduce the need to go to disk for reads, but the more random the data, the less useful cache is.   Okay, so very large caches won’t solve all of their problems.   EFDs must be the answer right?

EFD Disks

Forget SATA and FC disks; just use EFD for everything and it will be super fast!!   EFD has extremely high random read/write performance, low latency at high loads, and very high bandwidth.  You will even save money on power and cooling.

The total amount of data this customer is dealing with in these three applications alone exceeds 20TB.  To store that much in EFD would be cost prohibitive to say the least.  So, while EFD can solve all of this customer’s technical problems, they couldn’t afford to acquire enough EFD for the capacity requirements.

But wait, it’s not OR, it’s AND

The beauty of the EMC Unified solution is that you can use all of these technologies, together, on the same array, simultaneously.

In this customer’s case, we put FC and SATA into a virtual pool with FAST enabled and provision the web and general-purpose SQL servers from it.  FAST will eventually migrate the least used blocks to SATA, freeing the FC disks for the more demanding blocks.

Next, we extend the array cache using a couple EFDs and FAST Cache to help with random read, sequential pre-fetching, and bursty writes across the whole array.

Finally, for the custom 100% random read database, we dedicate a few EFDs to just that application, snapshot the DB and present copies to each server.  We disable read and write cache for the EFD backed volumes which leaves more cache available to the rest of the applications on the array, further improving total system performance.

Now, if and when the customer starts to see disk contention in the virtual pool that might affect performance of the general-purpose SQL databases, QoS can be tuned to ensure low response times on just the SQL volumes ensuring consistent performance.  If the disks become saturated to the point where QoS cannot maintain the response time or the other LUNs are suffering from load generated by SQL, any of the volumes can be migrated (non-disruptively) to a different virtual pool in the array to reduce disk contention.

Options

If you look at offerings from the various storage vendors, many promote large virtual pools, some also promote large caches of some kind, others promote block level tiering, and a few promote EFD (aka SSDs) to solve performance problems.  But, when you are consolidating multiple workloads into a single platform, you will discover that there are weaknesses in every one of those features and you are going to wish you had the option to use most or all of those features together.

You have that option on EMC Unified.

Do you have a recovery plan? You should!

Posted on by

In my new role at EMC, I am one of the first people to learn of major problems that my customers experience.  In general, customers seem to call their sales team before technical support when a big problem happens.  In the past week, I’ve been involved in recovery efforts with two different customers, both resulting from complete power outages in their production datacenters.

Both of these customers process millions of dollars through their global customer facing websites.  The smaller customer of the two does not have a disaster recovery site of any kind, while the other (larger) customer does have a recovery site, but it is not designed for 100% operation and is hundreds of miles away.

What became clear through both of these incidents is that having a very clear, very well known recovery plan is critical to the business.  Interestingly, these experiences drove home the point that even if you don’t have a recovery site, aren’t using replication, and otherwise don’t have any way to recover the data offsite, you still need a plan that encompasses what you CAN do.  More often than not, major outages are short lived and you will be recovering in your primary datacenter anyway, so you need to have a pre-determined plan to prevent major issues and shorten the time to recover.

Here are some things to think about when creating a recovery plan:

  • Get the application owners together and build a list of all the applications running in your environment.  Document the purpose of each application and map dependencies that each application has on other applications.
  • Next, involve the server/systems admins and document the server names, database names, IP addresses, and DNS names for each application on the list.
  • Finally, involve the infrastructure teams (storage, network, datacenter) and document the network dependencies (subnets, routers, VPN connections, load balancers, etc).  Document any SAN storage used by the servers/applications.  Also document how each infrastructure component affects others (ie: the SAN switches are required to be operational before servers can connect to storage arrays.)
  • Work with business leaders to prioritize the applications.  The idea is to understand how much impact each application has to the business both from a productivity perspective as well as direct financial impact.  There may be legal requirements or service level agreements with customers to consider as well.
  • If possible, identify the maximum amount of time each application can be down in the event of a catastrophic event (RTO – Recovery Time Objective) and how much data can be lost without significant impact to the business (RPO – Recovery Point Objective).  These metrics are usually measured in minutes, hours, and days.
  • Document the backup method for each server and application.  How often are backups run?  What is the retention period?  How long does it take to complete backups?   What is the expected time to restore the data?  How long does it take to recall tapes from offsite storage?
  • At this point you have a prioritized list of applications, now build a step by step recovery plan that lists the exact order in which you must recover systems.  The list should include server names as well as validation points to ensure certain systems are working before moving to the next step.  For example:
    • Step 1: bring up the network switches and routers
    • Step 2: bring up the DNS/DHCP servers
    • Step 3: bring up Active Directory servers
    • Step 4: bring up SAN fabric switches
    • Step 5: bring up SAN storage arrays, verify health of arrays with help from vendor
    • Step 6: …

I recommend that one of the first steps before starting recovery is to contact your key vendors (storage array vendors at least) to notify them of your outage so they can get support resources ready to troubleshoot any hardware issues you may run into during the recovery.

  • Identify key players needed in a recovery, at least primary and secondary contacts for every application and vendor contacts for hardware/software, facilities, UPS/Generator support teams, etc.
  • Establish a standard communication plan to include at least the following…
    • A method to notify employees of an outage and give instructions
    • A method to notify key players for recovery
    • A mechanism for key players to communicate with each other during the recovery
    • Personal (not corporate/business) contact information for all of the key players

The key thing to remember here is that you cannot rely on any communication tools that are part of your infrastructure.   You must assume your PBX/VOIP system will be down, Email will be down, corporate instant messenger will be down, Sharepoint will be unavailable, etc.

  • If you have a remote recovery site, with or without replication technology, and intend to use the remote site to recover production applications in the event of a large failure, be sure to document the triggers for moving to the recovery site.  As an example, you may want to attempt recovery in the primary site, and then move to the recovery site if recovery at the primary site will take too long — be sure to document that time and get executive buyoff.  You should not hear “how long do we wait until we move to the DR site?” during an active recovery operation.  That decision needs to be made during the planning exercise.
  • Document the entire plan and store the digital copies in a readily accessible place (file shares, Sharepoint site, etc).  Keep additional copies on USB sticks or CDs stored in a safe place.  Keep even MORE copies in another location outside the primary datacenter facility (ie: safe deposit box, remote office safe, etc).  Print copies as well and store the printed copy in similar safe places.  Assume that a building may not be accessible due to fire or flood.  I know one customer who issues fingerprint secured USB sticks to every manager.  Each manager must sync their USB stick to a server at least monthly or upper management is notified.
  • Make sure that everyone is aware of the recovery plan, who has access to the plan, where the copies are stored, and what role each of the key players is expected to play during a recovery.

There is far more to think about but hopefully you can get a good start with what I’ve listed above.  If you have a recovery plan already, you should review it regularly and think about anything that needs to be added or modified in the plan.

If you are trying to get approval for a remote recovery site and replication technology and having trouble getting executive approval, going through this exercise and defining application priority with RPO/RTO for each could give you the ammo you need.  Traditional backup architectures aren’t designed for RPO’s under 24 hours while storage array based replication can get RPOs down into the minutes and restoring from tape takes way longer than restoring from replicated data.

Last but not least, keep the plan updated as your environment changes, add new application and server details to the plan as part of the implementation process for new applications, or as part of change control procedures for significant changes to the infrastructure.

NetApp and EMC: Exchange 2007 Replication

Posted on by

Exchange Replication

Building on the redundant storage project, we also wanted to replicate Exchange to a remote datacenter for disaster recovery purposes.  We’ve been using EMC CLARiiON MirrorView/A and Replication Manager for various applications up to now and decided we’d use NetApp/SnapMirror for Exchange to leverage the additional hardware as well as a way to evaluate NetApp’s replication functionality vs EMC’s.

On EMC Clariion storage, there are a couple choices for replicating applications like Exchange.
1.) Use MirrorView/Async with Consistency Groups to replicate Exchange databases in a crash-consistent state.
2.) Use EMC Replication Manager with Snapview snapshots and SANCopy/Incremental to update the remote site copy.

Similar to EMC’s Replication Manager, NetApp has SnapManager for various applications, which coordinates snapshots, and replica updates on a NetApp filer.

Whether using EMC RM or NetApp SM, software must be installed on all nodes in the Exchange cluster to quiesce the databases and initiate updates.  The advantage of Consistency groups with MirrorView is that no software needs to be installed in the host; all work is performed within the storage array.  The advantage of RM and SM/E is that database consistency is verified on each update and the software can coordinate restoring data to the same or alternate servers, which must be done manually if using MirrorView.

NetApp doesn’t support consistent snapshots across multiple volumes so the only option on a Filer is to use SnapManager for Exchange to coordinate snapshots and SnapMirror updates.

Our first attempt configuring SnapManager for Exchange actually failed when we ran into a compatibility issue with SnapDrive.  SnapManager depends on SnapDrive for mapping LUNs between the host and filer, and to communicate with the filer to create snapshots, etc.  We’d discussed our environment with NetApp and IBM ahead of time, specifically that we have Exchange CCR running on VMWare, with FiberChannel LUNs and everyone agreed that SnapDrive supports VMWare, Exchange, Microsoft Clustering, and VMWare Raw Devices.  It turns out that SnapDrive 6 DOES support all of this, but not all at the same time.  Specifically, MSCS clustering is not supported with FC Raw Devices on VMWare.  In comparison, EMC’s Replication Manager has supported this configuration for quite a while.  After further discussion NetApp confirmed that our environment was not supported in the current version of SnapDrive (6.0.2) and that SnapDrive 6.2, which was still in Beta, would resolve the issue.

Fast forward a couple months, SnapDrive 6.2 has been released and it does indeed support our environment so we’ve finally installed and configured SnapDrive and SnapManager.  We’ve dedicated the EMC side of the Exchange environment for the active nodes and the IBM for the passive nodes.  SnapManager snapshots the passive node databases, mounts them to run database verification, then updates the remote mirror using SnapMirror.

While SnapManager does do exactly what we need it to do, my experience with it hasn’t been great so far…  First, SnapManager relies on Windows Task Scheduler to run scheduled jobs, which has been causing issues.  The job will run on its schedule for a day, then stop after which the task must be edited to make it run again.  This happens in the lab and on both of our production Exchange clusters.  I also found a blog post about this same issue from someone else.

The other issue right now is that database verification takes a long time, due to the slow speed of ESEUTIL itself.  A single update on one node takes about 4 hours (for about 1TB of Exchange data) so we haven’t been able to achieve our goal of a 2-hour replication RPO.  IBM will be onsite next week to review our status and discuss any options.  An update on this will follow once we find a solution to both issues.  In the meantime I will post a comparison of replication tools between EMC and NetApp soon.

Expanding a Thin LUN on Clariion CX4

Posted on by

Do you have an EMC Clariion CX4 with Virtual Provisioning (thin provisioning)?  Have you tried to expand the host visible (ie: maximum) size of a thin-LUN and can’t figure out how?  Well you aren’t alone…  Despite extremely little information available from EMC to say one way or the other, I finally figured out that you actually can’t expand a thin lun yet.  This was a surprise to me, since I had just assumed that would be there.  Thin-LUNs are pretty much virtual LUNs, and as such, they don’t have any direct block mapping to a RAID group that has to be maintained.  And traditional LUNs can be expanded using MetaLUN striping or concatenation.  Due to this restriction the host visible size of a thin-LUN cannot be edited after the LUN has been created.

But there IS a workaround.  It’s not perfect but its all we have right now.  Using CLARiiON’s built-in LUN Migration technology you can expand a thin-LUN in two steps.

Step 1: Migrate the thin-LUN to a thick-LUN of the same maximum size.

Step 2: Migrate the thick-LUN to a new thin-LUN that was created with the new larger size you want.  After migration, the thin-LUN will consume disk space equivalent to the old thin-LUN’s maximum size, but will have a new, higher host maximum visible size.

Two Steps to expand a thin LUN

Two Steps to expand a thin LUN

This requires that you have a RAID group outside of your thin pools that has enough usable free space to fit the temporary thick-LUN, so it’s not a perfect solution.  You’d think that migrating the old thin-LUN directly into a new, larger thin-LUN would work, but to use the additional disk space after a LUN migration, you have to edit the LUN size which, again, can’t be done on thin-LUNs.  I haven’t actually tested this, but this is based on all of the documentation I could find from EMC on the topic.

I’m looking into other methods that might be better, but so far it seems that certain restrictions on SnapView Clones and SANCopy might preclude those from being used.  The ability to expand thin-LUNs will come in a later FLARE release for those that are willing to wait.

Backup Everything – DR and Offsite copies

Okay, now that I’ve talked about backing up the datacenter with NetBackup and DataDomain, and backing up remote sites with NetBackup and PureDisk, it’s time to discuss how to get all that data offsite to protect against a catastrophic event at the datacenter.

As mentioned before we have a primary datacenter with the majority of our systems including the backup environment, and a secondary “disaster recovery” datacenter to which we replicate tier 1 applications for business continuity purposes.  Since we really wanted to get away from using tapes and instead store the backups on disk in our datacenter we have a second backup environment in the DR datacenter and we replicate the backup data there.

There are several ways to replicate backup data between two sites but most of them have drawbacks..

1.) Duplicate the backup data from disk to tape and ship the tapes to the remote site to be ready for restore.  This is the easiest and probably cheapest way.  But there’s that pesky tape yet again with it’s media handling and shipping.  And restore could take a while since you have to deal with restoring the catalog from tape, then importing the media, etc.

2.) Duplicate the backup data directly from the local disk to the disk in the second location across the WAN.  This is not very feasible with any significant amount of data because every byte of data that is backed up in the datacenter has to be copied across the much slower WAN.  It could take many days to duplicate a single nights’ backup.  You’d also need a special Catalog backup job that wrote to a storage device across the WAN.  The good here is that the backup application knows there is a second copy of the data and knows how to find it.

3.) Replicate the data with the backup storage devices’s native replication.  Whether it’s PureDisk, Avamar, or DataDomain, pretty much every source-based or target-based deduplication solution has replication built in that leverages the deduplication to reduce the amount of data that traverses the WAN.  The advantage here is that you can have a copy of all of your backup data in a second location in a much shorter time than a traditional copy process.  If your deduplication device stores the data with 10:1 compression, then your WAN usage is reduced by 90%.  The savings in practice is actually better than that.  The drawback is that the backup application (hence the catalog) has no knowledge that there is a second copy of the backup data and after recovering the catalog, you would need to import all of the disk-based media which could take a long time.

4.) Leverage NetBackup Lifecycle Policies with Symantec OpenSTorage (OST) and an OST-capable backup storage system like DataDomain or PureDisk(with PDDO).  Basically this has all the advantages of option #2, where it is a catalog-aware duplication, combined with the advantages of WAN bandwidth savings from option #3.  Time to copy the data offsite is much shorter due to deduplication, and time to restore is very fast since the data is already in the catalog and available on the disk.

OpenSTorage (OST) is a network protocol that Symantec developed to interface with disk-based backup storage systems and DataDomain was an early adopter of OST.  OST allows Netbackup to control replication between OST-capable storage systems and keep track of the replicated copies of backups in the Catalog just as if Netbackup had made both copies itself.  OST is also used as the protocol to send the backup data to the storage device as opposed to CIFS/NFS or VTL.  DataDomain appliances support OST as does PureDisk when used in conjunction with the PDDO option discussed earlier.   In NetBackup, replication controlled by OST is called “optimized duplication” and is controlled primarily through Lifecycle Policies.

Traditionally, when creating NetBackup job policies, the administrator will specify a Storage Unit (either a disk storage unit or a tape library or drive) that the job policy will send backups to.  Lifecycle Policies are treated like Storage Units as far as the Job Policy is concerned but the Lifecycle Policy includes a list of storage units, each with it’s own data retention, that the backup data must be stored onto in order for NetBackup to consider the data fully protected.  Typically there is a “Backup” target which is where the actual data coming from the client is stored, followed by one or more “Duplication” targets.  After the backup job completes, NetBackup will copy the backup data from the “backup” location to all of the “duplication” locations.  This works with pretty much any type of storage and you can mix and match tape and disk in the same policy.  Since these are duplication operations, NetBackup will read ALL of the data from the backup location, and write ALL of the data to each duplication location.  This can take a long time even on the local network and trying to offsite a lot of data over the WAN is not very feasible.

With OST, the lifecycle policy operates exactly the same except that it uses “optimized duplication”, instructing the storage device to copy the file rather than performing the copy through a media server.  So in the case of DataDomain, OST issues the command to the DDR, the DDR then copies the file to the second DDR in the remote site and gets all the benefits of deduplication and compression between the two.  The media server doesn’t actually do any work.  Once the duplication is complete, the DDR notifies NetBackup and the catalog is updated with a record of the second copy of the backup.  Lifecycle Policies are fully automated, you can’t even restart a failed duplication, so in the event of a transient failure like a WAN hiccup NetBackup will retry a duplication job forever until it succeeds in order to satisfy the lifecycle policy.

As you can probably surmise, this is REALLY nice for a tape-less backup environment.  Our DD690 offsites over 9TB of data every night DURING the backup window.  When the last backup job completes, the offsite copies are complete within 30 minutes.  And there is absolutely no management of the offsite process or duplication jobs besides configuring the lifecycle policies up front.  The drawback to regular Netbackup lifecycle policies is that all duplications are taken from the initial backup copy which limits what you can do with the copies.

Enter NetBackup 6.5.4…  Despite the small 6.5.3 -> 6.5.4 version number change, the 6.5.4 release had quite a few new features added.  The biggest one was a revamping of the Lifecycle Policy engine to allow for nested duplications.  Now you can create a copy of a backup, then create multiple copies from the copy, then create copies from the other copies.  Why is this useful?

Remember when I discussed using NetBackup with PDDO to backup remote sites?  Well the data backed up from the remote site is all stored in the primary datacenter and we need to get the second copy to the DR datacenter.  Plus, we wanted to have a small cache of recently backed up data sitting on the remote media server for fast restore.  Well, nested lifecycle’s are the key.  The lifecycle writes the initial backup copy onto the media server’s local disk which is configured as a capacity-managed staging area (ie: it stores as much as it can and expires data when it needs more space for new backups).  The lifecycle then creates a duplicate of the backup onto the PureDisk storage unit in the primary datacenter.  Since bandwidth to the remote site is very limited we don’t want to copy it from the remote site twice so the lifecycle has a second duplication nested under the first to copy it to the DR datacenter.  The source of the second copy is the primary datacenter copy, NOT the remote media server copy.

Where else can we use this?  Let’s consider our tape-less datacenter backups..  We backup the clients to the DataDomain in our primary datacenter, then using a lifecycle policy and OST, create a copy on the DataDomain in the DR datacenter.  If we also wanted to have a tape copy for long term archive or vaulting we could create a nested duplication to make a copy to a tape library in the DR datacenter from the disk copy that is also in the DR datacenter.  Without nested lifecycle’s the only workable solution would be to create the tape in the primary datacenter.  Every copy of the backup made via the lifecycle policy whether it is using OST or not is maintained by the catalog and easily used for restore.  Furthermore, using OST as the protocol between Netbackup and DataDomain actually increases throughput to the DataDomain DDR systems by approximately 2X vs VTL/CIFS/NFS.

Now to the caveats.. Optimized duplication via OST is only available when you are using OST as the protocol between the media server and the storage unit.  This means it doesn’t work with VTL even when the DataDomain IS the VTL.  OST only works over an ethernet network which is why we skipped VTL completely and used 10gbps networks for the DDR connections.  We even skipped VTL/Tape for the NAS systems, connected them directly to the 10gbps network and use 3-way NDMP to backup them up over the network, through the media servers, to the DataDomain.  We get the benefit of lifecycle policies, optimized duplication, and I may have mentioned before–no pesky tape even with NDMP/NAS backups.  And the interesting thing is that with the 10gbps connection, the NDMP dumps are faster than direct fiber to tape.

There were other enhancements to NetBackup 6.5.4 centered around OST functionality but the lifecycle policy improvements were huge in my opinion.

To cover the catalog replication, we run Netbackup hot catalog backups to a CIFS share that is hosted by the DataDomain.  The DDR replicates that share using DataDomain native replication to the DDR in the DR datacenter where the same data is available via a similar CIFS share.  Our standby Netbackup master server is already connected to the CIFS share for catalog restore and connected to the DDR via OST.  A single operation restores the catalog from the replicated copy.  In a real disaster we can begin restoring user data within 30 minutes from the DR datacenter.

Backup Everything – Netbackup does WAN

Posted on by

In a previous post I discussed the new backup environment I’ve been deploying, what solutions we picked, and how they apply to the datacenter.  But I also mentioned that we had remote sites with systems we need to back up but I didn’t explain how we addressed them.  Frankly, the previous post was getting long and backing up remote offices is tricky so it deserved it’s own discussion.

Now that we had Symantec NetBackup running in the datacenter, backup up the bulk of our systems to disk by way of DataDomain, we need to look at remote sites.  For this we deployed Symantec NetBackup PureDisk.  Despite the fact that it has NetBackup in the name, PureDisk is an entirely different product with it’s own servers, clients, and management interfaces.  There are some integration points that are not-obvious at first but become important later.  Essentially PureDisk is two solutions in a single product — 1:) a “source-dedupe” backup solution that can be deployed independent of any other solution, and 2:) a “target-dedupe” backup storage appliance specifically integrated with the core NetBackup product via an option called PDDO.

As previously discussed, backing up a remote site across a WAN is best accomplished with a source-dedupe solution like PureDisk or Avamar.  This is exactly what we intended to do.  Most of our remote site clients are some flavor of UNIX or Windows and installing PureDisk clients was easily accomplished.  Backup policies were created in PureDisk and a little over a day later we had the first full backup complete.  All subsequent nightly backups transfer very small amounts of data across the WAN because they are incremental backups AND because the PureDisk client deduplicates the data before sending it to the PureDisk server.  The downside to this is that the PureDisk jobs have to scheduled, managed, and monitored from the PureDisk interface, completely separate from the NetBackup administration console.  Backups are sent to the primary datacenter and stored on the local PureDisk server, then the backed up data is replicated to the PureDisk server in the DR datacenter using PureDisk native replication.  Restores can be run from either of the PureDisk servers but must un-deduplicate the data before sending across the WAN making restores much slower than backups.  This was a known issue and still meets our SLAs for these systems.

Our biggest hurdle with PureDisk was the client OS support.  Since we have a very diverse environment we ran into a couple clients which had operating systems that PureDisk does not support.  Both Netware and x86 versions of Solaris are currently not supported, both of which were running in our remote sites.

We had a few options:

1.) Use the standard NetBackup client at the remote site and push all of the data across the WAN

2.) Deploy a NetBackup media server in the remote site with a tape library and send the tapes offsite

3.) Deploy a NetBackup media server in the remote site with a small DataDomain appliance and replicate

4.) Deploy a NetBackup media server and ALSO use PureDisk via the PDDO option (PureDisk Deduplication Option)

Option 1 is not feasible for any serious amount of data, Option 2 requires a costly tape library and some level of media handling every day, and Option 3 just plain costs too much money for a small remote site.

Option 4, using PDDO, leverages PureDisk’s “target-dedupe” persona and ends up being a very elegant solution with several benefits.

PDDO is a plug-in that installs on a Netbackup media server.  The PDDO plug-in deduplicates data that is being backed up by that media server and sends it across the network to a PureDisk server for storage.  The beauty of this option is that we were able to put a Netbackup media server in our remote site without any tape or other storage.  The data is copied from the client to the media server over the LAN, de-duplicated by PDDO, then sent over the WAN to the datacenter’s PureDisk server.  We get the bandwidth and storage efficiencies of PureDisk while using standard NetBackup clients.  A byproduct of this is that you get these PureDisk benefits without having to manage the backups in PureDisk’s separate management console.  To reduce the effects of the WAN on the performance of the backup jobs themselves, and to make the majority of restores faster, we put some internal disk on the media server that the backup jobs write to first.  After the backup job completes to the local disk, NetBackup duplicates the backup data to the PureDisk storage server, then duplicates another copy to the DR datacenter.  This is all handled by NetBackup lifecycle policies which became about 1000X more powerful with the 6.5.4 release.  I’ll discuss the power of lifecycle policies, specifically with the 6.5.4 release, when I talk about OST later.

So the result of using PureDisk/PDDO/NetBackup together is a seamless solution, completely managed from within NetBackup, with all the client OS support the core NetBackup product has, the WAN efficiencies of source-dedupe, the storage efficiencies of target-dedupe, and the restore performance of local storage, but with very little storage in the remote site.

Remote Site Backup…  Done!!

For the near future, I’m considering putting NetBackup media servers with PDDO on VMWare in all of the remote sites so I can manage all of the backups in NetBackup without buying any new hardware at all.  This is not technically supported by Symantec but there is no tape/scsi involved so it should work fine.  Did I mention we wanted to avoid tape as much as possible?

Incidentally, despite my love for Avamar, I don’t believe they have anything like PDDO available in the Networker/Avamar integration and Avamar’s client OS support, while better than PureDisk’s, is still not quite as good as Netbackup and Networker.

Okay, so how does OST play into NetBackup, PureDisk, PDDO, and DataDomain?  What do the lifecycle policies have to do with it? And what is so damned special about lifecycle policies in NetBackup 6.5.4?  All that is next…

Capacity vs. Performance: De-duplication

Posted on by

This is the 3rd part of a multi-part discussion on capacity vs performance in SAN environments.  My previous post discussed the use of thin provisioning to increase storage utilization.  Today we are going to focus on a newer technology called Data De-Duplication.

Data De-Duplication can be likened to an advanced form of compression.  It is a way to store large amounts of data with the least amount of physical disk possible.

De-duplication technology was originally targeted at lowering the cost of disk-based backup.  DataDomain (recently acquired by EMC Corp) was a pioneer in this space.  Each vendor has their own implementation of de-duplication technology but they are generally similar in that they take raw data, look for similarities in relatively small chunks of that data and remove the duplicates.  The diagram below is the simplest one I could find on the web.  You can see that where there were multiple C, D, B, etc blocks in the original data, the final “de-duplicated” data has only one of each.  The system then stores metadata (essentially pointers) to track what the original data looked like for later reconstruction.

Image from eWeek Article

The first and most widely used implementations of de-dupe technology were in the backup space where much of the same data is being backed up during each backup cycle and many days of history (retention) must be maintained.  Compression ratios using de-duplication alone can easily exceed 10:1 in backup systems.  The neat thing here is that when the de-duplication technology works at the block-level (rather than file-level) duplicate data is found across completely disparate data-sets.  There is commonality between Exchange email, Microsoft Word, and SQL data for example.  In a 24 hour period, backing up 5.7TB of data to disk, the de-dupe ratio in my own backup environment is 19.2X plus an additional 1.7X of standard compression on the post de-dupe’d data, consuming only 173.9GB of physical disk space.  The entire set of backed up data, totaling 106TB currently stored on disk, consumes only 7.5TB of physical disk.  The benefits are pretty obvious as you can see how we can store large amounts of data in much less physical disk space.

There are numerous de-duplication systems available for backup applications — DataDomain, Quantum DXi, EMC DL3D, NetApp VTL, IBM Diligent, and several others.  Most of these are “target-based” de-duplication systems because they do all the work at the storage layer with the primary benefit being better use of disk space.  They also integrate easily into most traditional backup environments.  There are also “source-based” de-duplication systems — EMC Avamar and Symantec PureDisk are two primary examples.  These systems actually replace your existing backup application entirely and perform their work on the client machine that is being backed up.  They save disk space just like the other systems but also reduce bandwidth usage during the backup which is extremely useful when trying to get backups of data across a slow network connection like a WAN.

So now you know why de-duplication is good, and how it helps in a backup environment.. But what about using it for primary storage like NAS/SAN environments?  Well it turns out several vendors are playing in that space as well.  NetApp was the first major vendor to add de-duplication to primary storage with their A-SIS (Advanced Single Instance Storage) product.  EMC followed with their own implementation of de-duplication on Celerra NAS.  They are entirely different in their implementation but attempt to address the same problem of ballooning storage requirements.

EMC Celerra de-dupe performs file-level single-instancing to eliminate duplicate files in a filesystem, and then uses a proprietary compression engine to reduce the size of the files themselves.  Celerra does not deal with portions of files.  In practice, this feature can significantly reduce the storage requirements for a NAS volume.  In a test I performed recently for storing large amounts of Syslog data, Celerra de-dupe easily saved 90% of the disk space consumed by the logs and it hadn’t actually touched all of the files yet.

NetApp’s A-SIS works at a 4KB block size and compares all data within a filesystem regardless of the data type.  Besides NAS shares, A-SIS also works on block volumes (ie: FiberChannel and iSCSI LUNs) where EMC’s implementation does not.  Celerra has an advantage when working with files which contain high amounts of duplication in very small block sizes (like 50 bytes) since NetApp looks at 4KB chunks.  Celerra’s use of a more traditional compression engine saves more space in the syslog scenario but NetApp’s block level approach could save more space than Celerra when dealing with lots of large files.

The ability to work on traditional LUNs presents some interesting opportunities, especially in a VMWare/Hyper-V environment.  As I mentioned in my previous post, virtual environments have lots of redundant data since there are many systems potentially running the same operating system sharing the disk subsystem.  If you put 10 Windows virtual machines on the same LUN, de-duplication will likely save you tons of disk space on that LUN.  There are limitations to this that prevent the full benefits from being realized.  VMWare best practices require you to limit the number of virtual machine disks sharing the same SAN lun for performance reasons (VMFS locking issues) and A-SIS can only de-dupe data within a LUN but not across multiple LUNs.  So in a large environment your savings are limited.  NetApp’s recommendation is to use NFS NAS volumes for VMWare instead of FC or iSCSI LUNs because you can eliminate the VMFS locking issue and place many VMs on a single very large NFS volume which can then be de-duplicated.  Unfortunately there are limits on certain VMWare features when using NFS so this may not be an option for some applications or environments.  Specifically, VMWare Site Recovery Manager which coordinates site-to-site replication and failover of entire VMWare environments does not currently support NFS as of this writing.

When it comes to de-duplication’s impact on performance it’s kind of all over the map.  In backup applications, most target based systems either perform the work in memory while the data is coming in or as a post-process job that runs when the backups for that day have completed.  In either case, the hardware is designed for high throughput and performance is not really a problem.  For primary data, both EMC and NetApp’s implementations are post-process and do not generally impact write performance.  However, EMC has limitations on the size of files that can be de-duplicated before a modification to a compressed file causes a significant delay.  Since they also limit de-duplication to files that have not been accessed or modified for some period of time, the problem is minimal in most environments.  NetApp claims to have little performance impact to either read or writes when using A-SIS.  This has much to do with the architecture of the NetApp WAFL filesystem and how A-SIS interacts with it but it would take an entirely new post to describe how that all works.  Suffice it to say that NetApp A-SIS is useful in more situations than EMC’s Celerra De-duplication.

Where I do see potential problems with performance regardless of the vendor is in the same situation as thin provisioning.  If your application requires 1000 IOPS but you’ve only got 2 disks in the array because of the disk space savings from thin-provisioning and/or de-duplication, the application performance will suffer.  You still need to service the IOPS and each disk has a finite number of IOPS (100-200 generally for FC/SCSI).  Flash/SSD changes the situation dramatically however.

Right now I believe that de-duplication is extremely useful for backups, but not quite ready for prime-time when it comes to primary storage.  There are just too many caveats to make any general recommendations.  If you happen to purchase an EMC Celerra or NetApp FAS/IBM nSeries that supports de-duplication, make sure to read all the best-practices documentation from the vendor and make a decision on whether your environment can use de-duplication effectively, then experiment with it in a lab or dev/test environment.  It could save you tons of disk space and money or it could be more trouble than it’s worth.  The good thing is that it’s pretty much a free option from EMC and NetApp depending on the hardware you own/purchase and your maintenance agreements.